How is Tin Manufactured
A Flat Sheet of Steel
Goes In. A Tin Box Comes Out.
Ever wonder what actually happens between raw metal and the cookie tin on your shelf? Six steps. More machines than you'd expect. And zero room for a 0.2mm mistake.
A tin box starts life as a flat sheet of steel. By the time it reaches you, it's been printed, cut, pressed, assembled, and quality-checked — often across a dozen separate operations. Understanding that process changes how you look at a cookie tin or a candle container. It's not just a box. It's a manufactured object with real engineering behind it.
Let's walk through it step by step.
🔩Step One: The Raw Material — Tinplate
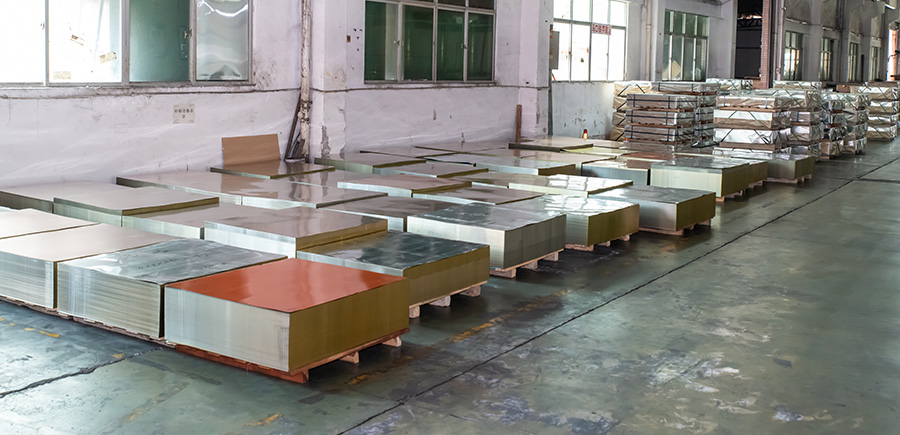
Everything starts with tinplate — a thin sheet of cold-rolled steel with a fine layer of tin electroplated onto both surfaces. This isn't the same as pure tin. It's a composite: steel for strength, tin for protection.
The tin coating is applied by electroplating — running the steel strip through a tin-salt solution with an electric current. The result is a uniform, food-safe surface that resists rust, bonds well with printing inks, and stays odor-neutral. This is the material that makes food-grade tin containers, airtight metal tea tins, round cookie tins with lids, and every other tinplate box possible.
🏭The Manufacturing Process — Every Step
Before a single sheet of metal is cut, the shape of the tin has to exist as a mold. For standard shapes — round, rectangular, square, cylindrical, oval — manufacturers work from an existing mold library. For custom shapes, new molds are engineered: 3D modeled, precision-cut, and test-pressed before approval.
Mold tolerances matter enormously here. A lid that's off by 0.2mm will feel loose or won't close properly. This is the step that determines everything downstream.
💡 At Longteng: 2,000+ existing molds — most standard sizes need no new toolingThis surprises most people: the design is printed on the flat tinplate sheet before any forming happens. The flat surface allows for far more precise printing than a curved or formed container ever could — sharper color registration, cleaner gradients, better detail.
Printing methods used: offset printing for detailed multi-color artwork, UV printing for vivid, fade-resistant colors, screen printing for bold solid-color designs. Surface finishes — matte varnish, gloss coating, gold stamping, embossing, spot UV — are also applied at this stage.
💡 Once the tin is formed, reprinting is impossible — the artwork approval stage is criticalThe printed tinplate sheet is cut into precise blanks — flat pieces sized and shaped for each specific component of the tin. A basic lidded box needs at minimum two blanks: one for the body, one for the lid. A hinged tin box needs more. A sliding tin box needs a tray and a sleeve, cut separately.
Cutting is done by stamping presses with precision dies. Waste is minimized by nesting blank shapes efficiently across the sheet — the engineering equivalent of cutting cloth with as little leftover fabric as possible.
The flat blanks go into stamping and drawing machines that use dies and punches to press the metal into shape. Different tin structures require different forming methods:
Round and cylindrical tins — deep drawing, where the metal is stretched and pulled down into a circular die. Used for coffee tins, tea canisters, and round biscuit tins.
Rectangular and square tins — bending and flanging, with corners seamed or welded. Used for rectangular cookie tins, gift tin boxes, and lunch tin boxes.
Sliding tin boxes — the tray and sleeve formed separately, then sized to fit precisely.
Hinged tin boxes — additional operations to form and attach the hinge mechanism.
Multi-stage forming is common for deeper boxes — the metal is gradually drawn down over several press operations rather than all at once, which prevents tearing.
Once individual components are formed, they're assembled. For a simple lid-and-body tin, this is mostly about sizing the two parts so the lid fits correctly. For more complex products, assembly is more involved:
Child-resistant tin boxes — the push-and-turn or squeeze-and-pull mechanism fitted and tested for compliance.
Tin boxes with window panels — PVC or PET film inserted and secured.
Tins with locks or handles — hardware attached and function-tested.
Jewelry tins and cosmetic tins — foam padding, velvet lining, or vacuum-formed inserts fitted inside.
QC runs through every stage — material inspection, print color checking against approved proofs, dimensional verification after forming, and functional testing on assembled units. For food-grade tins, interior coatings are checked for compliance. Tins bound for regulated markets carry documentation from the material sourcing stage.
Final packing matters too — tins need to survive long-haul shipping without denting or scuffing. How a manufacturer packs its product tells you a lot about how seriously they take what happens after it leaves the factory.
💡 A tin that looks good in a sample photo but arrives damaged in bulk is a QC failure, not a shipping problem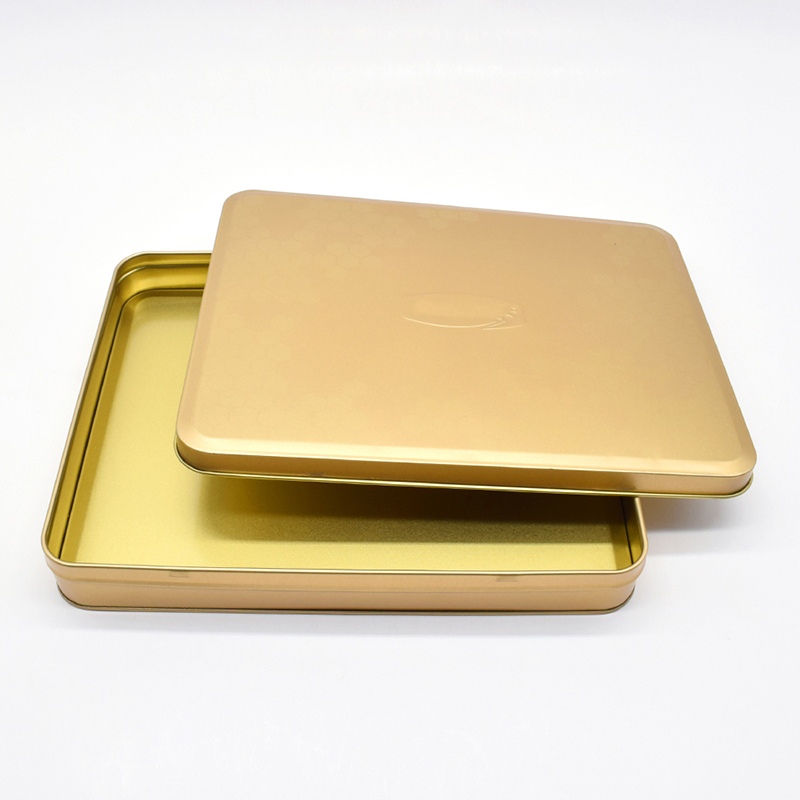
🔢What This Looks Like at Longteng
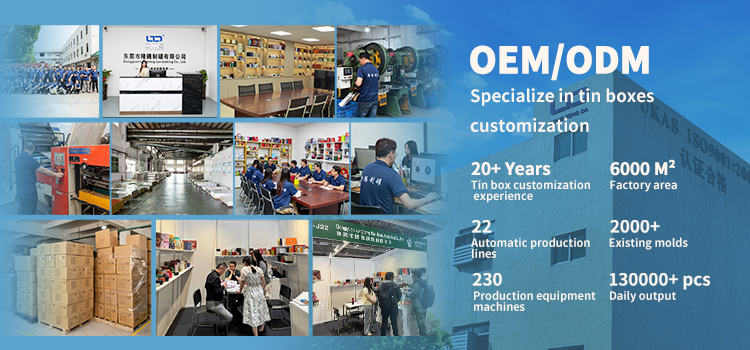
We handle all six stages in-house at our factory in Dongguan — from mold development through final QC and export packing. Here's what the operation looks like in numbers:
📦What Comes Out of This Process
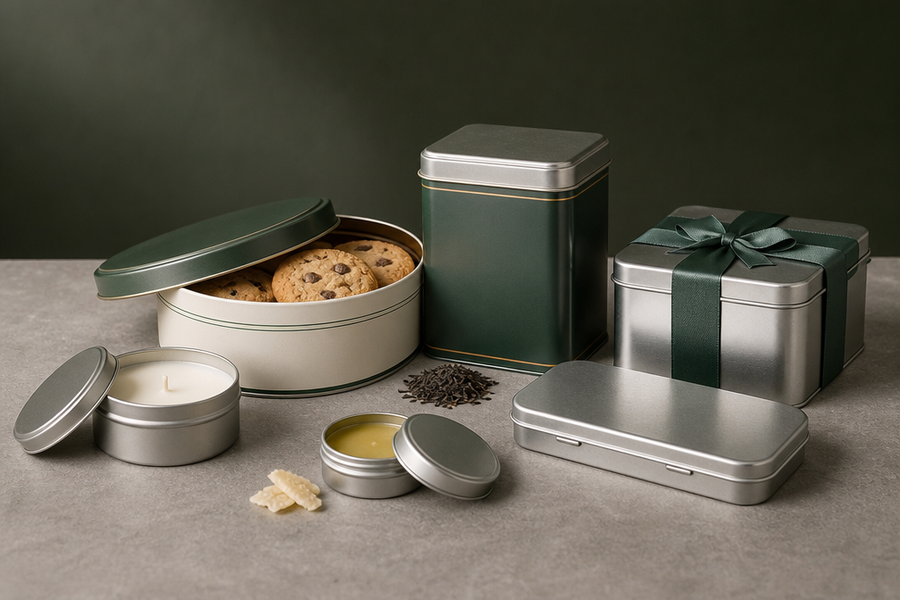
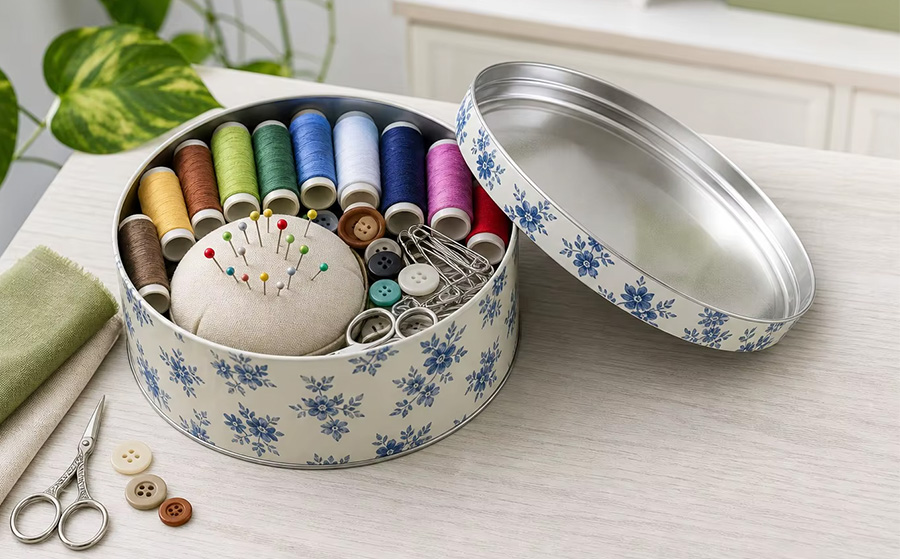
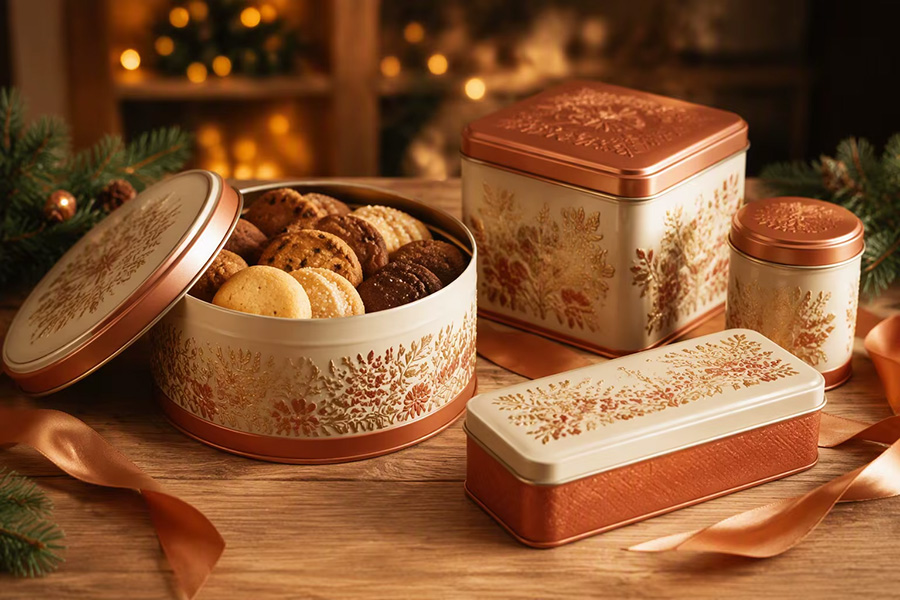
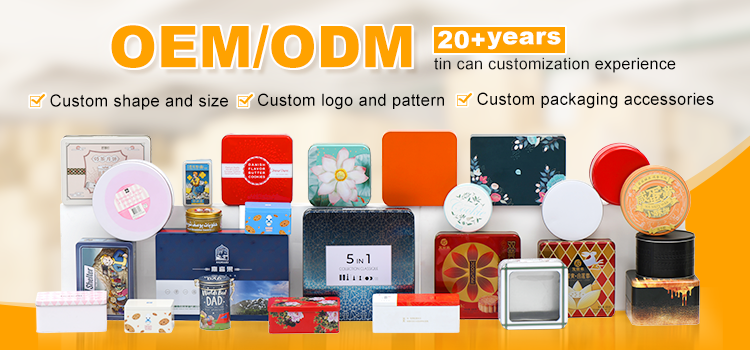
Every product below goes through all six manufacturing stages. All are food-grade tinplate, fully customizable in print and finish:
Manufacturing a tin box is a six-stage process — and every stage has variables that determine whether the final product is something people keep or something they throw away. The mold precision, the print quality, the forming consistency, the assembly fit, the QC discipline.
If you're sourcing tin packaging and want to understand what you're actually buying — or if you want to see how the process works for a specific product — reach out directly. I can walk you through it.
Are Metal Cookie Tins Recyclable
Is Tin Safe for food Storage
Related Article